Installing Windows 8 on a older device (PC/Laptop…)

Installing the brand new Windows 8 is pretty easy and actually, pretty beautiful. I think if you are able to install a game or a software, then you are also able to install your Windows 8.

This post will follow the most important steps and will explain how I configured my computer in order to have a brand new Windows 8 operating system.

The system info:

  • Device: SONY VAIO laptop (2GB RAM, Intel Core 2 Duo 2GHz)
  • OS: Windows 8 Professional
  • Installed using USB device (Boot from USB)
  • Previous OS: Windows 7 Professional

The steps for a brand new OS are the following:

1. Backup all your data to an external drive (if you have multiple partitions, only C: may be affected and you can backup only your C: drive but still so, its hardly recommended to backup all your data).

2. Configure your computer to boot from the device used for the installation. You can use a optical disk (DVD) or a USB memory. See here how to configure a USB device to be used for installing Windows 8. If needed go to BIOS and enable boot from USB.

3. Restart you computer (insert your disk or USB) and boot for the Windows 8 installation. First, select your language for the installation and then select Install Now.

4. Typer your serila key

5. Select your type of installation. You can upgrade or you can select (Custom) a new installation. Installing the brand new Windows 8 implies a format to C: drive. I chooses Custom in order to be able to modify my partitions.

6. Configure your hard disk drive for the installation. In my case I have a 200 GB HDD with 2 partitions and Windows 7 already installed. Therefore, my HDD (Drive 0) contains Partition 1 used to store the recovery tools from SONY, Partition 2 as Windows 7 reserved and Partitions 3 and 4 as my formal C: and D:

Using drive options, the partitions can be changed and reconfigured for Windows 8. Be aware that you will lose your data if you modify your partitions. Also, Windows 8 requires 350MB for the System reserved partition. In my case I reconfigured all of my partitions. Here you will see how I configured my HDD:

7. That was the hardest part. Now just wait to install Windows 8 and follow the instructions.

Different messages will appear like “Getting devices ready” and your computer will restart. At this restart point be sure you will no longer boot from the installation device (USB/Disk).

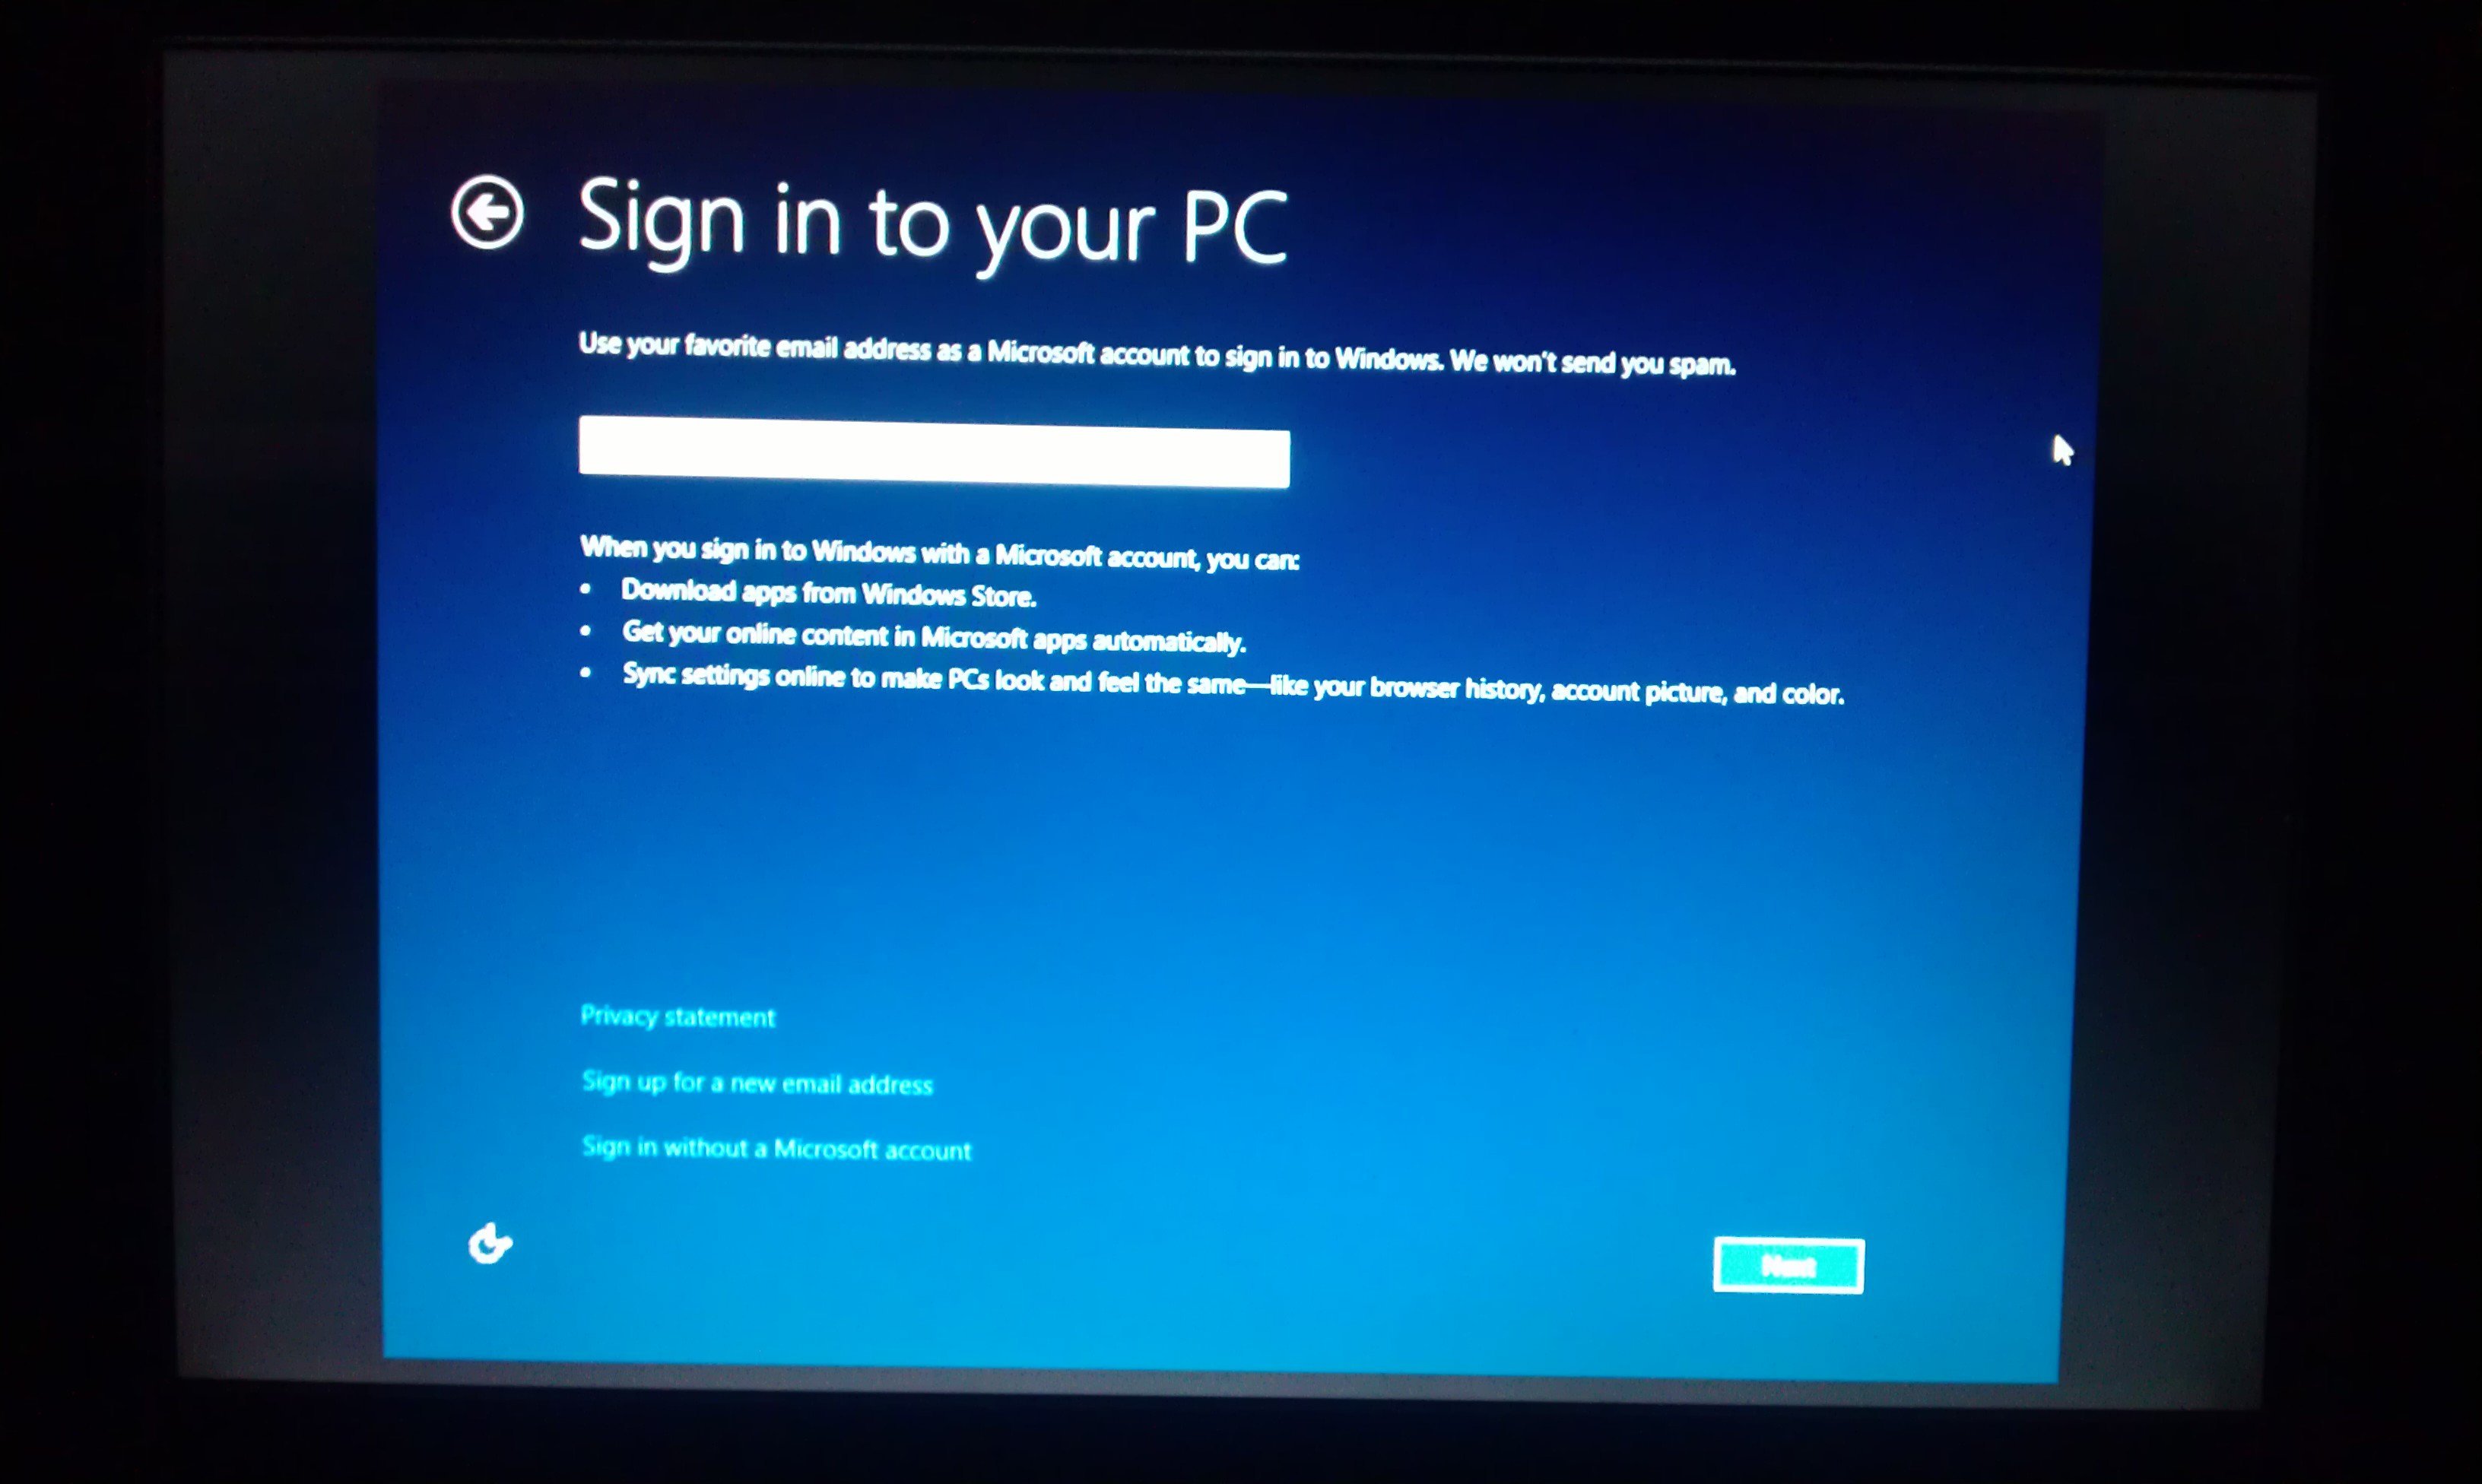
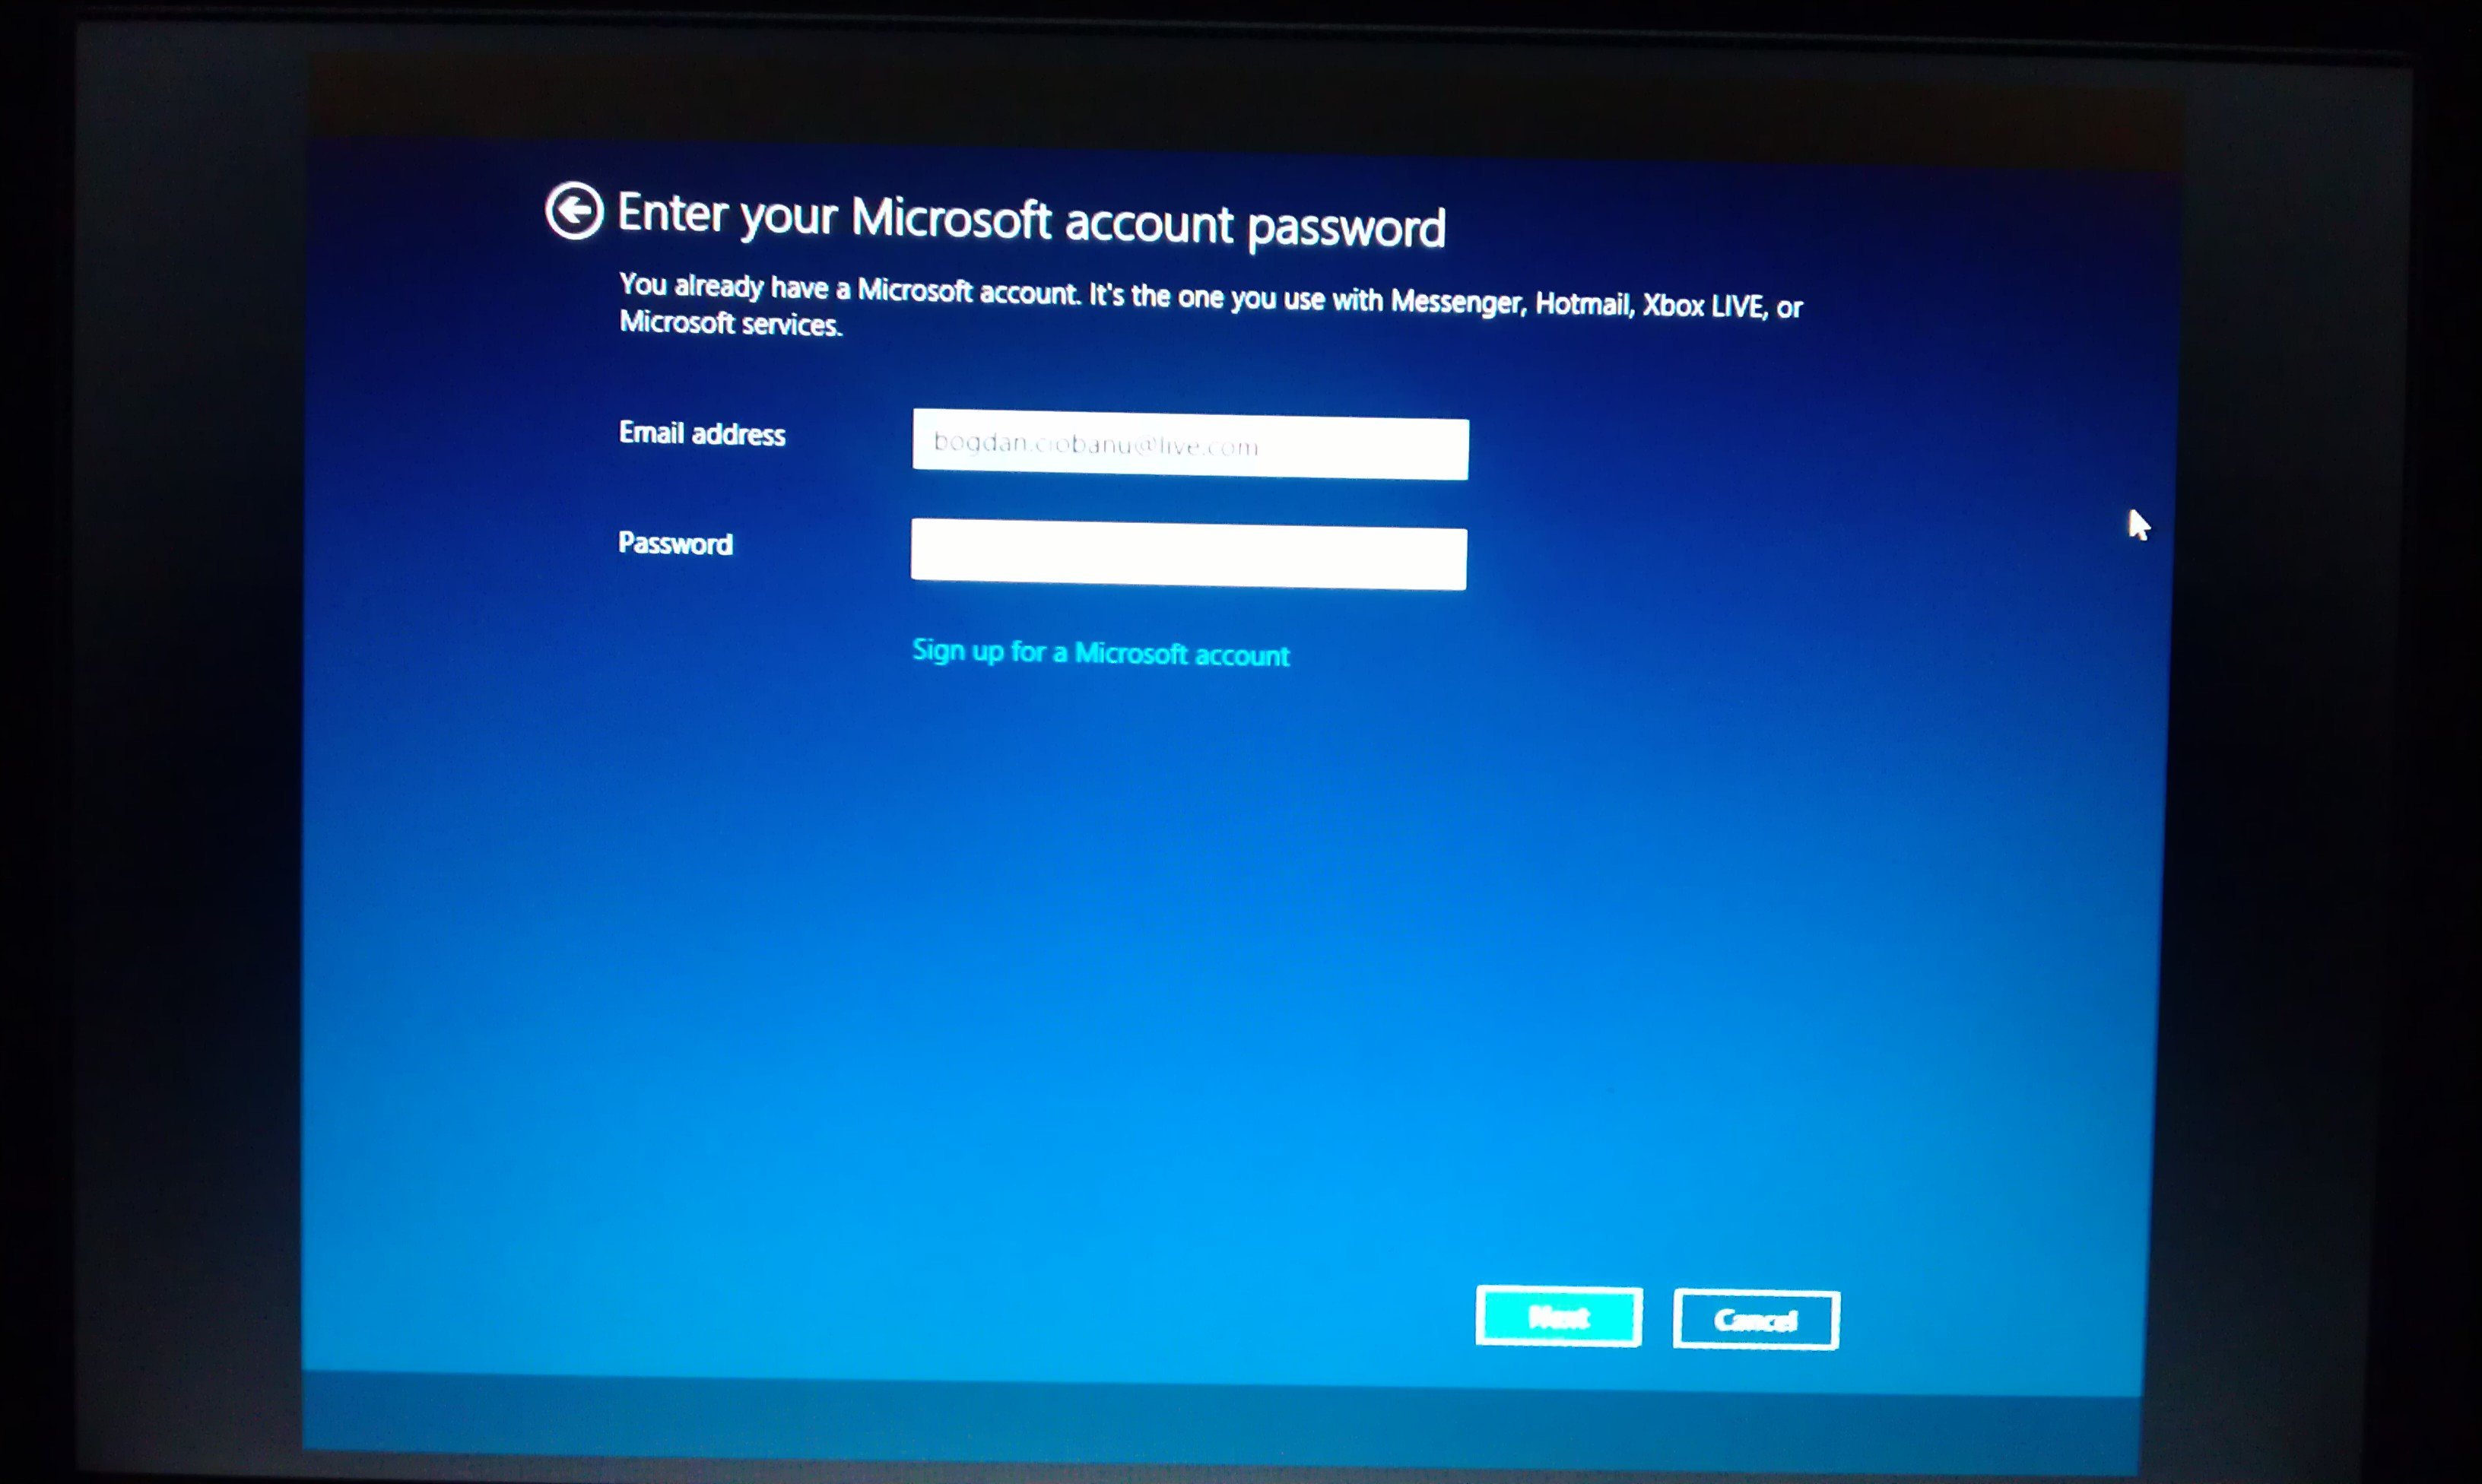
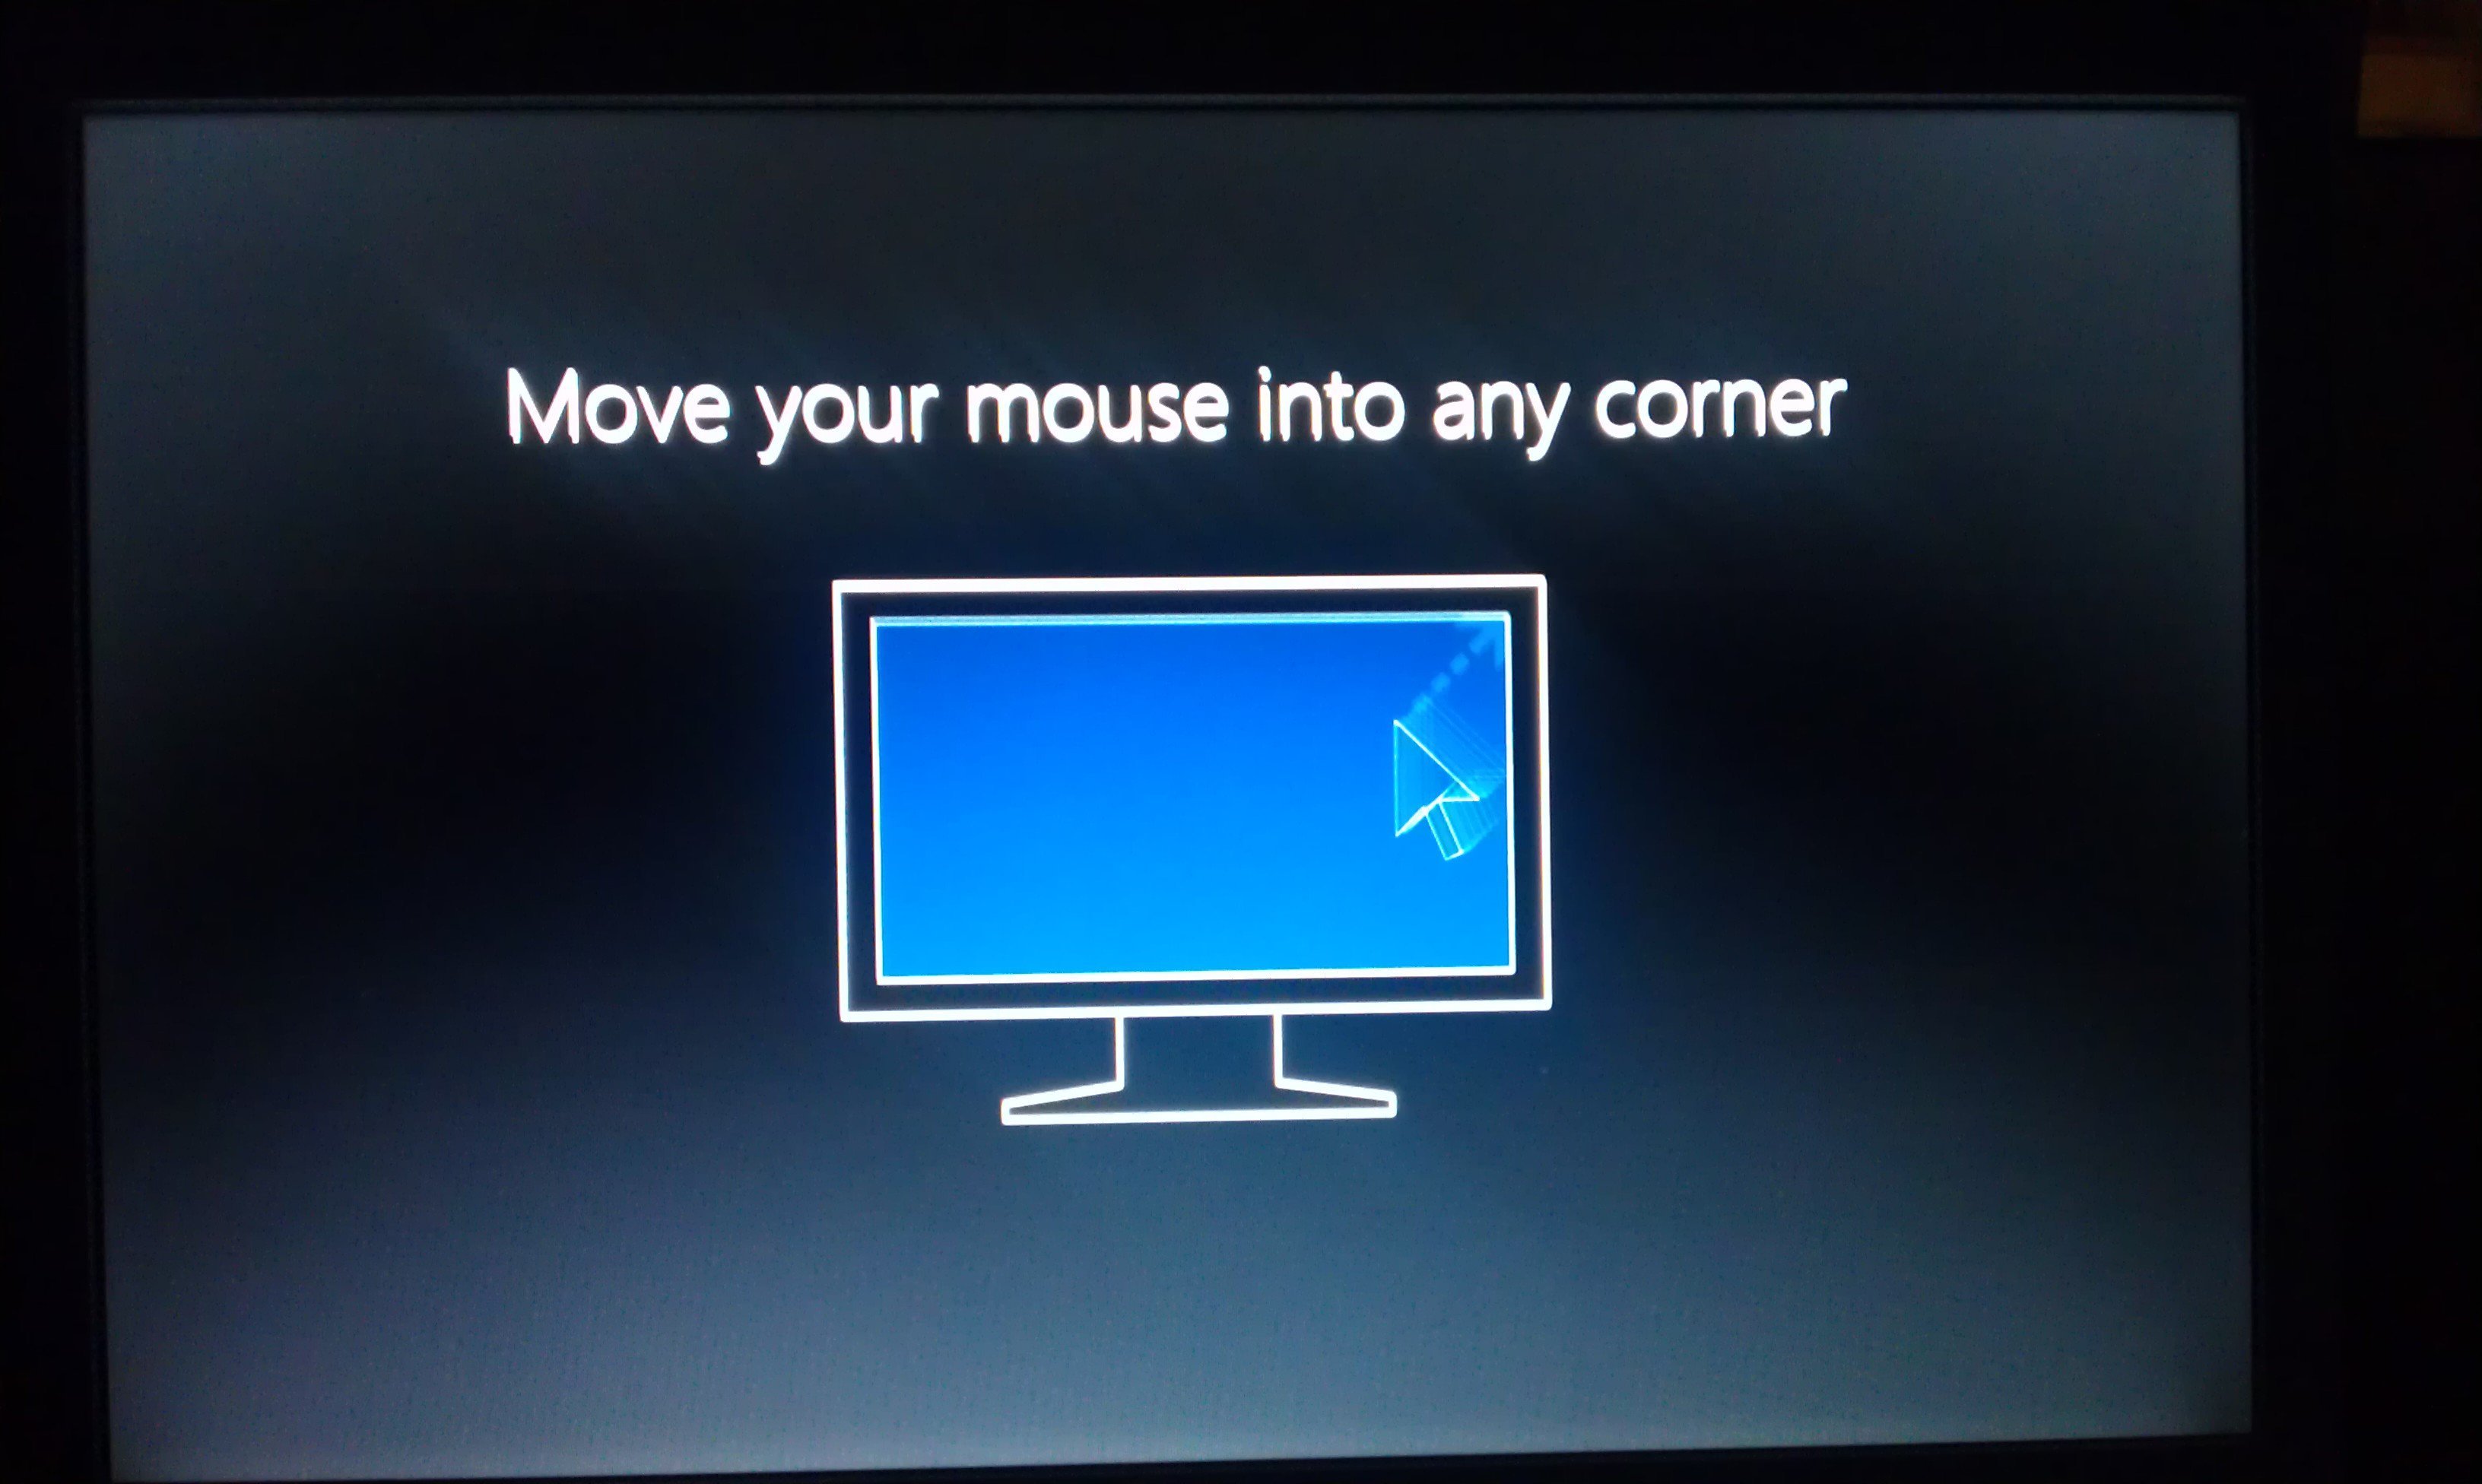
8. Get ready with your Windows 8 customization.

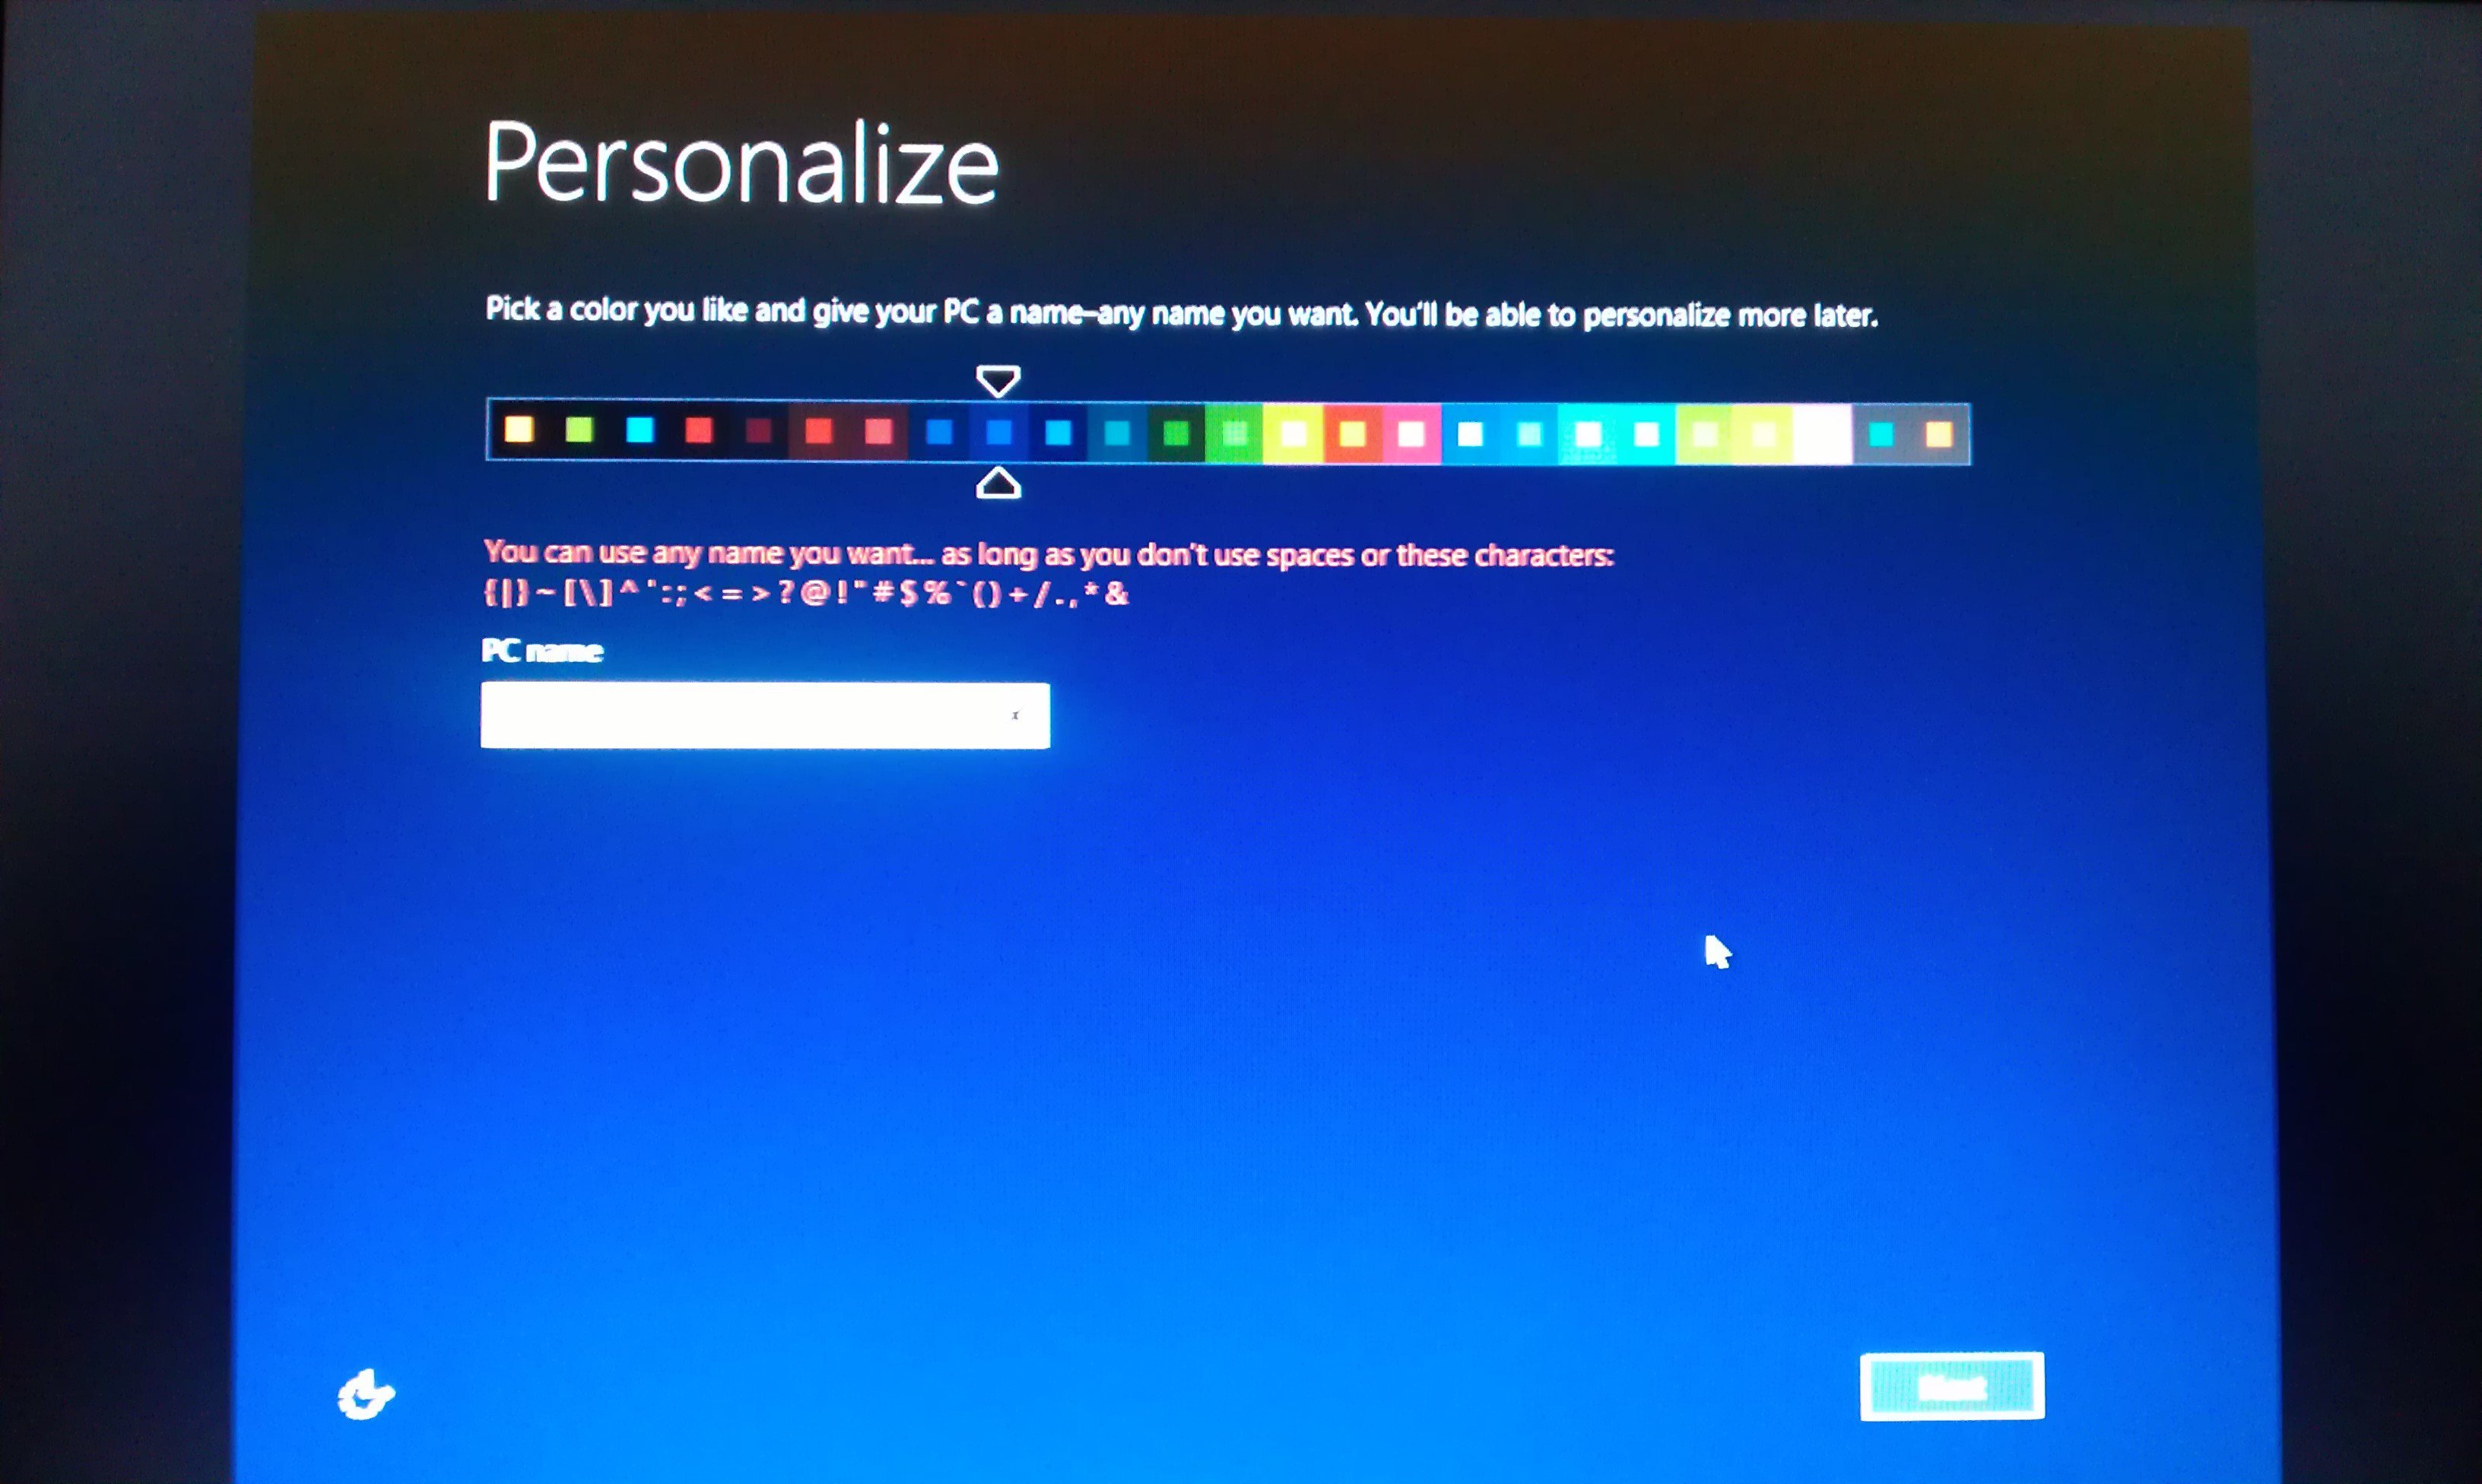
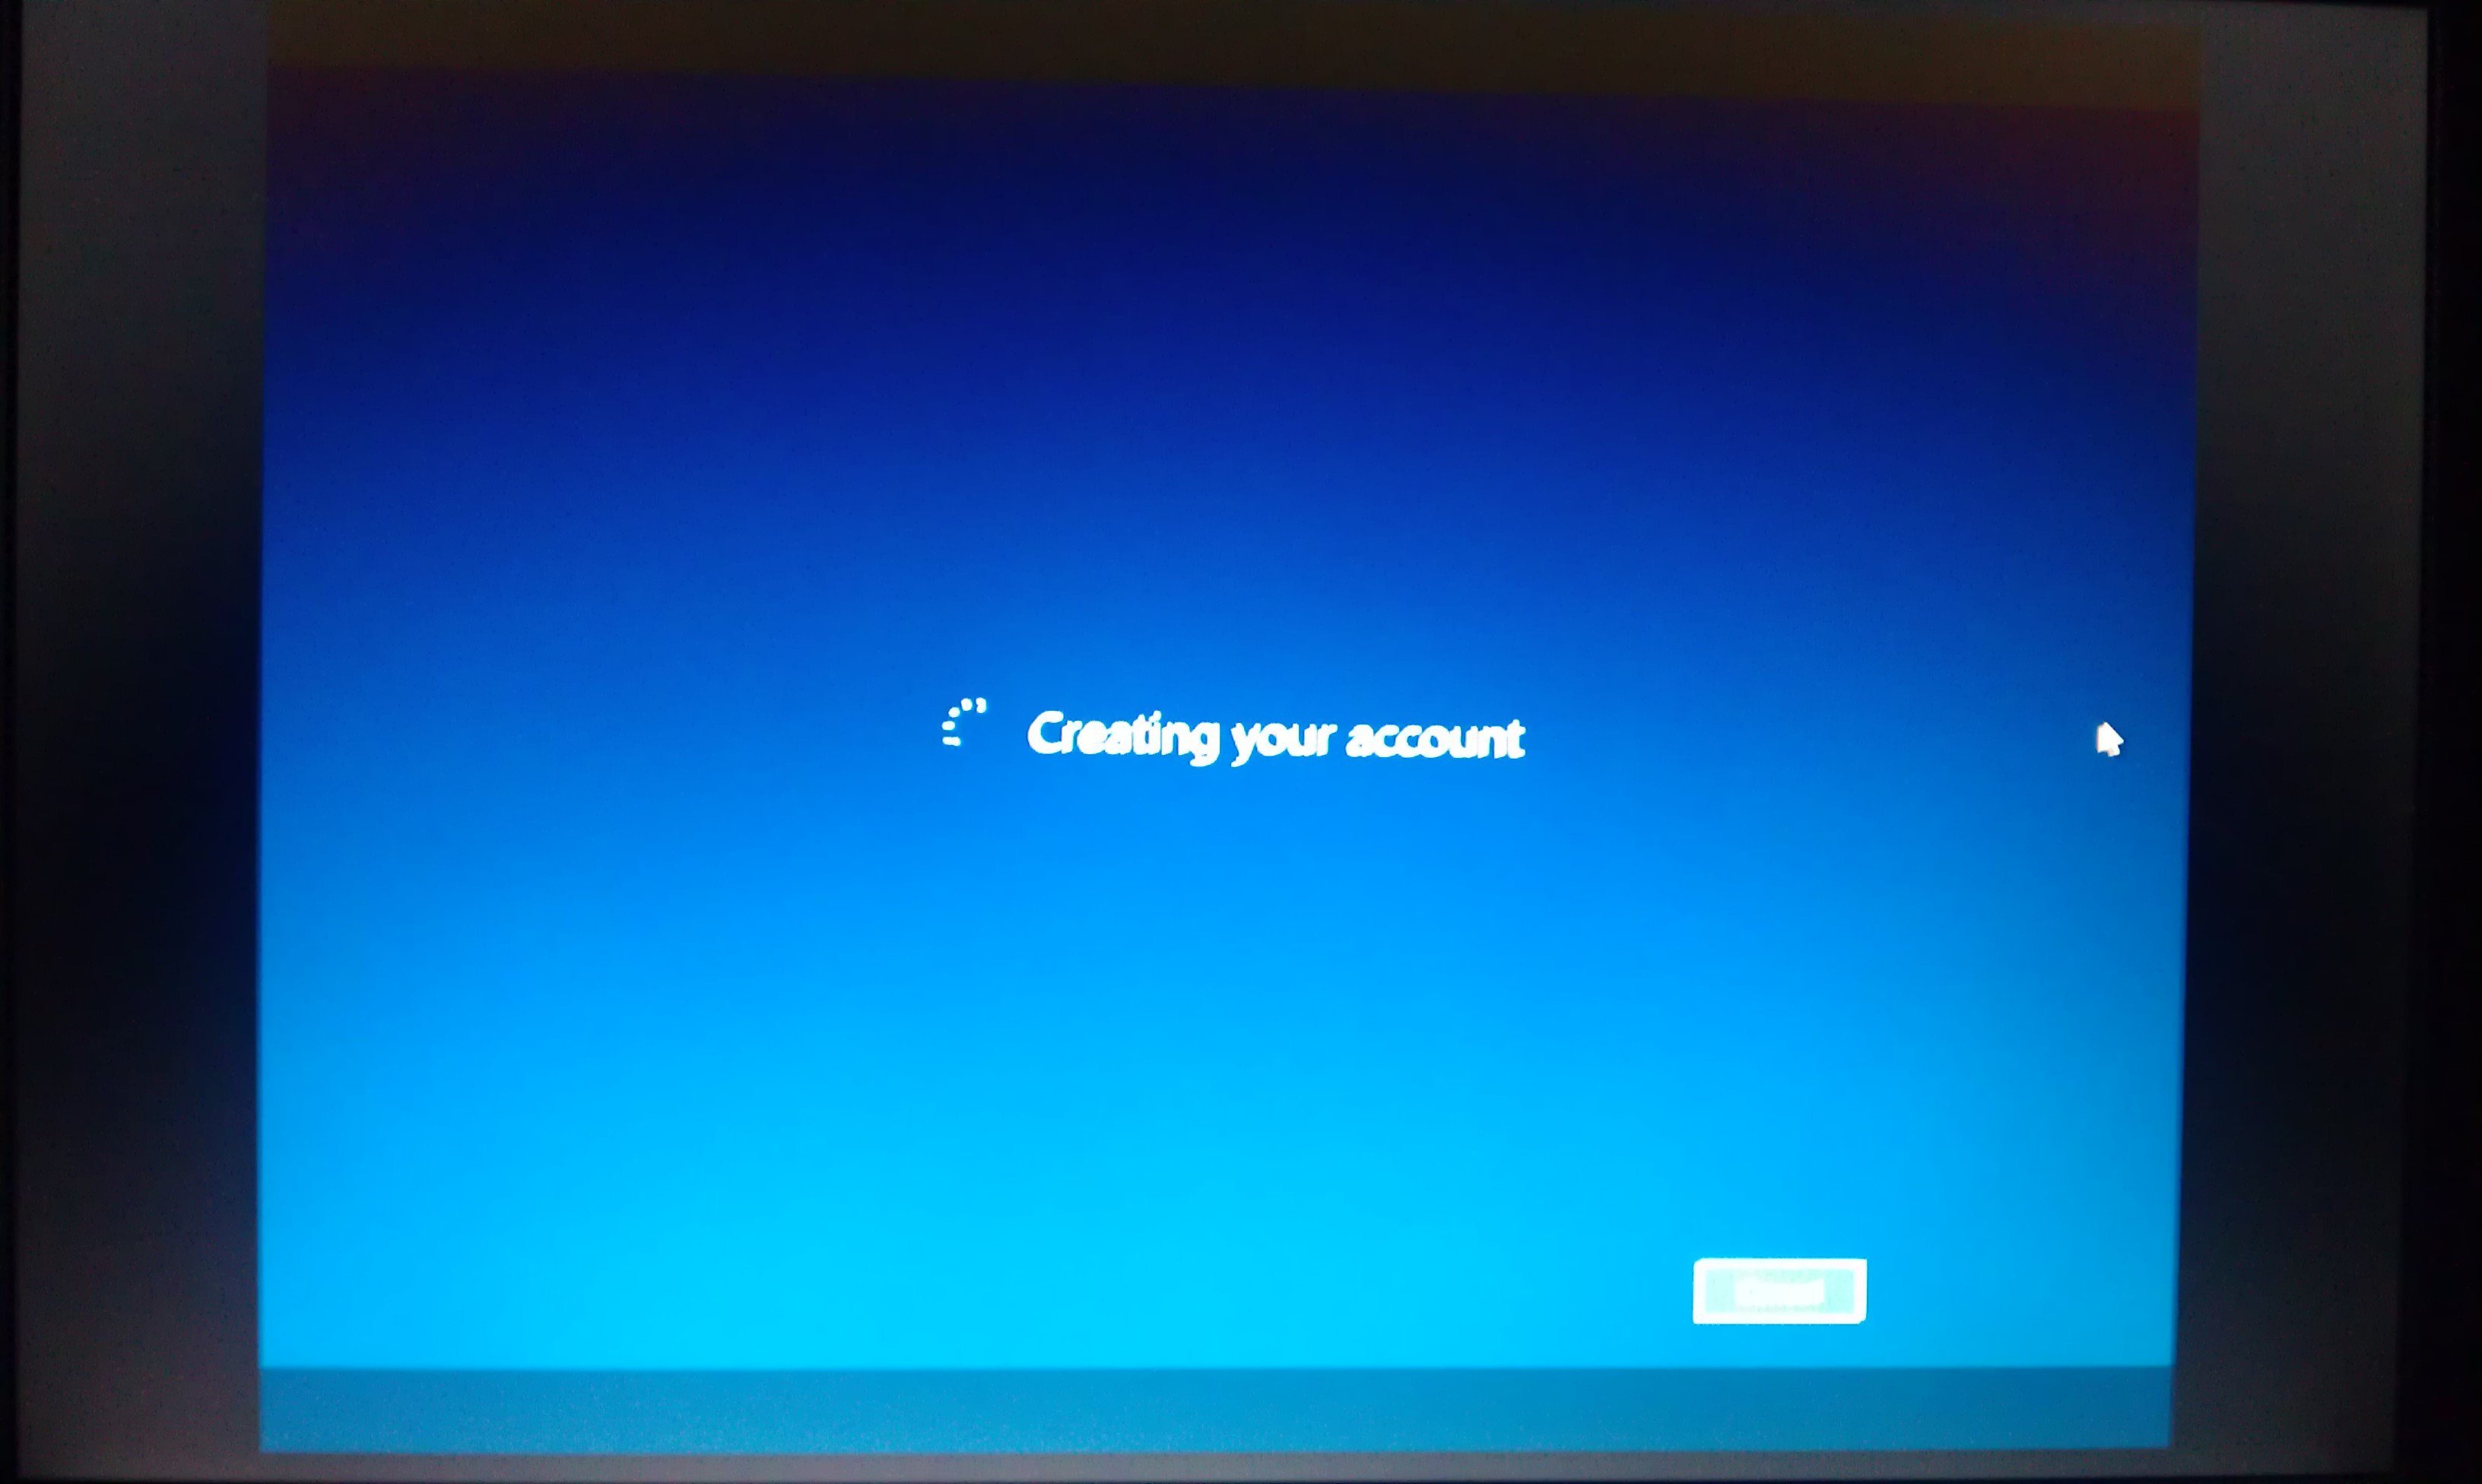
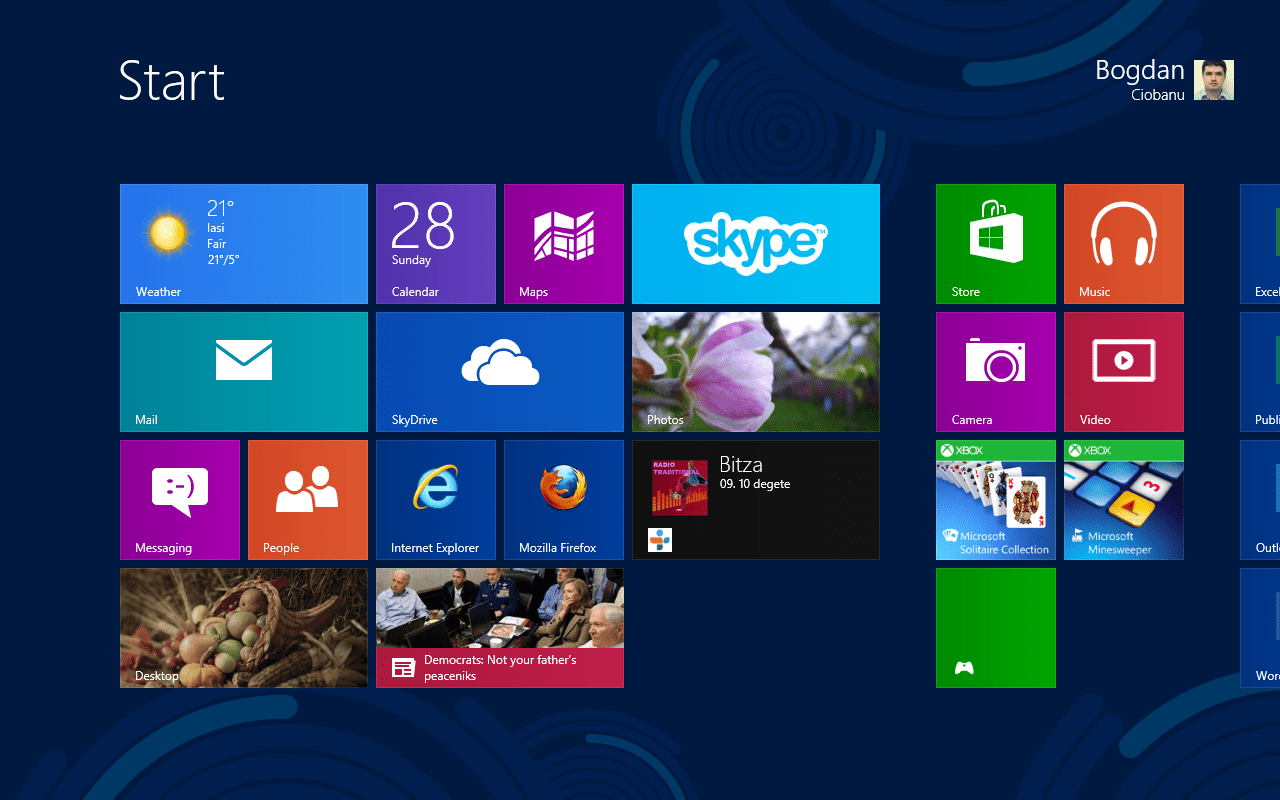
At the end … enjoy your brand new Windows 8!

How to add or remove system icons from Desktop

A couple of icons/shortcuts to the basic system “places” can be easily configured to appear on your Desktop. Therefore, you can have/change or remove the next icons from your desktop: Computer, User’s Files, Network, Recycle Bin and Control Panel.

To do this you have to:

1. Right click on your Desktop image and choose

2. From the left menu, click on “Change desktop icons”

3. Choose which of the icons should be on the desktop and click OK

And then you should have all your desired icons on the desktop.

Internet explorer 10 and MSN with Metro design

Microsoft has revealed a new design for its MSN portal, MSN.com. The new design brings the Metro style in order to welcome the new Windows 8. Also, the Internet Explorer receives an update to the 10th major version.

MSN.com will be the default webpage for the Internet Explorer and the implementation of Metro style will bring a rich experience to  Windows 8 users.

The new design will be available starting October 26th.

The official post says:

The launch of Windows 8 and Internet Explorer 10 will change the way we use devices and the internet.  It opens up a new class of opportunities for us to reimagine all of our products and services including MSN. MSN with more than 480 million visitors per month is the top site in 27 markets and remains one of the most popular media destinations on the Internet.

Via [MSN blog]

A real-time worldmap with Cybernetic attacks

Honeynet Project offers the possibility to have a beautiful view over how Cyberattacks are spread around the Globe. The red dots on the map represent the attacks and the yellow one are the systems/sensors that record the attacks.

The black box presents the location of the attacks based on the IPs of the machines used. This is only part of the actual number of the attacks. The “Cyber War” is a lot more intense and hard to log on a map. But just for fun, we can have a beautiful image of how attacks are spread over internet.

Visit map.honeycloud.net for the map.

Via [The Atlantic Wire]

How to catch persons who use fake pictures on Facebook?

Facebook became a very strange place for some users. Because social activities involve, in most cases, finding a partner (lover) you can find it stupid and strange. And just because when people try to impress or court someone they usually do silly things.

A common activity is to tell lies about yourself. And this mean to lie about your age (you are older or younger) or post photos of celebrities/other people (faces, ass, cleavage and so on) and say how nice do you feel and tag yourself … or a lot more other silly lies.

In case of photo lies (fake photos) it’s not that hard to figure it out. And I will explain it why.

1. First, the source of celebrities and other people photos. Very rarely you will find authentic photos and most of the time the photos are downloaded from internet using Google image search.

2. Doubt about a photo?

When we see a very beautiful natural photo of a girl that speaks fluently 5 different languages, is 21 years old and single then we may have some doubts about the authenticity of that person. I’m not saying that there are no persons like this but only that it’s unlikely to find them. Someone who is extremely beautiful, extremely smart is also unlikely to be open to small and stupid talks on Facebook messenger. Something about getting out to a coffee with a completely stranger after just 10 minutes of chat. It might bring some doubts.

3. Use same most comment instrument to clear a doubt. If fake users use Google to search for “nice, cute, beautiful” images then we can use the same tool to figure out the origin of a photo. Google offers you the possibility to search not only by words but also uploading images.

Go to Google images and click on “photo camera” icon. Choose “Upload an image” if you saved a certain image on your computer or use the URL option to directly search after a photo link.

In case of celebrities, Google will figure out the name of the person in that picture and that’s pretty easy. If the person is not recognize than you just click on “All sizes” from the “Find other sizes of this images” or “Find similar images”. A list of similar photos will appear. Find the exact copy of your photo and and catch the fraudster :)

How to change Control Panel to Classic View in Windows 7

Control Panel in Windows 7 is more compact and intuitive with categorized actions (options). But for some users this compact way means some additional unnecessary clicks. This is why a more classic view (more like that in Windows XP) is more practical. To change the Control Panel view you have to:

1. Go to Control Panel. Click on Start icon and type “Control Panel” and hit enter or just click on your Control Panel option.

2. Change view from the “View by” option in the top right of the window. Change it from Category to Large all Small icons.

Large icons view:

Small icons view:

How to add Recycle Bin icon on your Desktop

One of the most common icon you can see on desktop is the “Recycle Bin” icon. It’s very handy to have it on Desktop just because the files you delete can still be find in Recycle Bin. This means that you may find it very useful when you want to restore your files or clear some space on your Hard Drive. If you don’t have this icon on your desktop than you can follow this steps to add it back:

1. Right click on desktop and choose the last option “Personalize”

2. A new windows appears. Click on “Change Desktop icons” link from the top-left side of the window.

3. Select the box next to Recycle Bin icon.


The complete list of Windows 7 Keyboard shortcuts

Ease of Access keyboard shortcuts:

Right Shift for eight seconds Turn Filter Keys on and off
Left Alt+Left Shift+PrtScn (or PrtScn) Turn High Contrast on or off
Left Alt+Left Shift+Num Lock Turn Mouse Keys on or off
Shift five times Turn Sticky Keys on or off
Num Lock for five seconds Turn Toggle Keys on or off
Windows logo key Picture of Windows logo key +U
Open the Ease of Access Center

General keyboard shortcuts

F1 Display Help
Ctrl+C (or Ctrl+Insert) Copy the selected item
Ctrl+X Cut the selected item
Ctrl+V (or Shift+Insert) Paste the selected item
Ctrl+Z Undo an action
Ctrl+Y Redo an action
Delete (or Ctrl+D) Delete the selected item and move it to the Recycle Bin
Shift+Delete Delete the selected item without moving it to the Recycle Bin first
F2 Rename the selected item
Ctrl+Right Arrow Move the cursor to the beginning of the next word
Ctrl+Left Arrow Move the cursor to the beginning of the previous word
Ctrl+Down Arrow Move the cursor to the beginning of the next paragraph
Ctrl+Up Arrow Move the cursor to the beginning of the previous paragraph
Ctrl+Shift with an arrow key Select a block of text
Shift with any arrow key Select more than one item in a window or on the desktop, or select text within a document
Ctrl with any arrow key+Spacebar Select multiple individual items in a window or on the desktop
Ctrl+A Select all items in a document or window
F3 Search for a file or folder
Alt+Enter Display properties for the selected item
Alt+F4 Close the active item, or exit the active program
Alt+Spacebar Open the shortcut menu for the active window
Ctrl+F4 Close the active document (in programs that allow you to have multiple documents open simultaneously)
Alt+Tab Switch between open items
Ctrl+Alt+Tab Use the arrow keys to switch between open items
Ctrl+Mouse scroll wheel Change the size of icons on the desktop
Windows logo key Picture of Windows logo key +Tab
Cycle through programs on the taskbar by using Aero Flip 3-D
Ctrl+Windows logo key Picture of Windows logo key +Tab
Use the arrow keys to cycle through programs on the taskbar by using Aero Flip 3-D
Alt+Esc Cycle through items in the order in which they were opened
F6 Cycle through screen elements in a window or on the desktop
F4 Display the address bar list in Windows Explorer
Shift+F10 Display the shortcut menu for the selected item
Ctrl+Esc Open the Start menu
Alt+underlined letter Display the corresponding menu
Alt+underlined letter Perform the menu command (or other underlined command)
F10 Activate the menu bar in the active program
Right Arrow Open the next menu to the right, or open a submenu
Left Arrow Open the next menu to the left, or close a submenu
F5 (or Ctrl+R) Refresh the active window
Alt+Up Arrow View the folder one level up in Windows Explorer
Esc Cancel the current task
Ctrl+Shift+Esc Open Task Manager
Shift when you insert a CD Prevent the CD from automatically playing
Left Alt+Shift Switch the input language when multiple input languages are enabled
Ctrl+Shift Switch the keyboard layout when multiple keyboard layouts are enabled
Right or Left Ctrl+Shift Change the reading direction of text in right-to-left reading languages

Dialog box keyboard shortcuts

Ctrl+Tab Move forward through tabs
Ctrl+Shift+Tab Move back through tabs
Tab Move forward through options
Shift+Tab Move back through options
Alt+underlined letter Perform the command (or select the option) that goes with that letter
Enter Replaces clicking the mouse for many selected commands
Spacebar Select or clear the check box if the active option is a check box
Arrow keys Select a button if the active option is a group of option buttons
F1 Display Help
F4 Display the items in the active list
Backspace Open a folder one level up if a folder is selected in the Save As or Open dialog box

Windows logo key keyboard shortcuts

Windows logo key Picture of Windows logo key
Open or close the Start menu.
Windows logo key Picture of Windows logo key +Pause
Display the System Properties dialog box.
Windows logo key Picture of Windows logo key +D
Display the desktop.
Windows logo key Picture of Windows logo key +M
Minimize all windows.
Windows logo key Picture of Windows logo key +Shift+M
Restore minimized windows to the desktop.
Windows logo key Picture of Windows logo key +E
Open Computer.
Windows logo key Picture of Windows logo key +F
Search for a file or folder.
Ctrl+Windows logo key Picture of Windows logo key +F
Search for computers (if you’re on a network).
Windows logo key Picture of Windows logo key +L
Lock your computer or switch users.
Windows logo key Picture of Windows logo key +R
Open the Run dialog box.
Windows logo key Picture of Windows logo key +T
Cycle through programs on the taskbar.
Windows logo key Picture of Windows logo key+number
Start the program pinned to the taskbar in the position indicated by the number. If the program is already running, switch to that program.
Shift+Windows logo key Picture of Windows logo key+number
Start a new instance of the program pinned to the taskbar in the position indicated by the number.
Ctrl+Windows logo key Picture of Windows logo key+number
Switch to the last active window of the program pinned to the taskbar in the position indicated by the number.
Alt+Windows logo key Picture of Windows logo key+number
Open the Jump List for the program pinned to the taskbar in the position indicated by the number.
Windows logo key Picture of Windows logo key +Tab
Cycle through programs on the taskbar by using Aero Flip 3-D.
Ctrl+Windows logo key Picture of Windows logo key +Tab
Use the arrow keys to cycle through programs on the taskbar by using Aero Flip 3-D.
Ctrl+Windows logo key Picture of Windows logo key +B
Switch to the program that displayed a message in the notification area.
Windows logo key Picture of Windows logo key +Spacebar
Preview the desktop.
Windows logo key Picture of Windows logo key +Up Arrow
Maximize the window.
Windows logo key Picture of Windows logo key +Left Arrow
Maximize the window to the left side of the screen.
Windows logo key Picture of Windows logo key +Right Arrow
Maximize the window to the right side of the screen.
Windows logo key Picture of Windows logo key +Down Arrow
Minimize the window.
Windows logo key Picture of Windows logo key +Home
Minimize all but the active window.
Windows logo key Picture of Windows logo key +Shift+Up Arrow
Stretch the window to the top and bottom of the screen.
Windows logo key Picture of Windows logo key +Shift+Left Arrow or Right Arrow
Move a window from one monitor to another.
Windows logo key Picture of Windows logo key +P
Choose a presentation display mode.
Windows logo key Picture of Windows logo key +G
Cycle through gadgets.
Windows logo key Picture of Windows logo key +U
Open Ease of Access Center.
Windows logo key Picture of Windows logo key +X
Open Windows Mobility Center.

Windows Explorer keyboard shortcuts

Ctrl+N Open a new window
Ctrl+W Close the current window
Ctrl+Shift+N Create a new folder
End Display the bottom of the active window
Home Display the top of the active window
F11 Maximize or minimize the active window
Ctrl+Period (.) Rotate a picture clockwise
Ctrl+Comma (,) Rotate a picture counter-clockwise
Num Lock+Asterisk (*) on numeric keypad Display all subfolders under the selected folder
Num Lock+Plus Sign (+) on numeric keypad Display the contents of the selected folder
Num Lock+Minus Sign (-) on numeric keypad Collapse the selected folder
Left Arrow Collapse the current selection (if it’s expanded), or select the parent folder
Alt+Enter Open the Properties dialog box for the selected item
Alt+P Display the preview pane
Alt+Left Arrow View the previous folder
Backspace View the previous folder
Right Arrow Display the current selection (if it’s collapsed), or select the first subfolder
Alt+Right Arrow View the next folder
Alt+Up Arrow View the parent folder
Ctrl+Shift+E Display all folders above the selected folder
Ctrl+Mouse scroll wheel Change the size and appearance of file and folder icons
Alt+D Select the address bar
Ctrl+E Select the search box
Ctrl+F Select the search box

Taskbar keyboard shortcuts

Shift+Click on a taskbar button Open a program or quickly open another instance of a program
Ctrl+Shift+Click on a taskbar button Open a program as an administrator
Shift+Right-click on a taskbar button Show the window menu for the program
Shift+Right-click on a grouped taskbar button Show the window menu for the group
Ctrl+Click on a grouped taskbar button Cycle through the windows of the group

Magnifier keyboard shortcuts

Windows logo key Picture of Windows logo key+ Plus Sign (+) or Minus Sign (-)
Zoom in or out
Ctrl+Alt+Spacebar Preview the desktop in full-screen mode
Ctrl+Alt+F Switch to full-screen mode
Ctrl+Alt+L Switch to lens mode
Ctrl+Alt+D Switch to docked mode
Ctrl+Alt+I Invert colors
Ctrl+Alt+arrow keys Pan in the direction of the arrow keys
Ctrl+Alt+R Resize the lens
Windows logo key Picture of Windows logo key+ Esc
Exit Magnifier

Remote Desktop Connection keyboard shortcuts

Alt+Page Up Move between programs from left to right.
Alt+Page Down Move between programs from right to left.
Alt+Insert Cycle through programs in the order that they were started in.
Alt+Home Display the Start menu.
Ctrl+Alt+Break Switch between a window and full screen.
Ctrl+Alt+End Display the Windows Security dialog box.
Alt+Delete Display the system menu.
Ctrl+Alt+Minus Sign (-) on the numeric keypad Place a copy of the active window, within the client, on the Terminal server clipboard (provides the same functionality as pressing Alt+PrtScn on a local computer).
Ctrl+Alt+Plus Sign (+) on the numeric keypad Place a copy of the entire client window area on the Terminal server clipboard (provides the same functionality as pressing PrtScn on a local computer).
Ctrl+Alt+Right Arrow “Tab” out of the Remote Desktop controls to a control in the host program (for example, a button or a text box). Useful when the Remote Desktop controls are embedded in another (host) program.
Ctrl+Alt+Left Arrow “Tab” out of the Remote Desktop controls to a control in the host program (for example, a button or a text box). Useful when the Remote Desktop controls are embedded in another (host) program.

How do I block softwares to access internet and send private data?

Some time ago I needed to block some websites in order to forbid the internet access of a software that automatically use internet to send/receive different information. I was also asked by some friends about a method to block different websites like porn, torrents or illegal websites.

In this article I will show you a method to block any website you want without using any special software and nothing but just a text editor (notepad). This method apply to:
– block individual illegal websites in order to not be accessible by any users
– block any desired website in order to forbid users access to it (like games, social websites or any website you want)
– forbid your installed software to access specific internet addresses (like downloading updates or send your private information)

The solution is simple and basically assume to edit a special windows file called “hosts”. You can read more about “hosts” file on wikipedia by this link. So … If you want to block a website follow this steps:

1. Go to Explorer to this location
C:\Windows\hosts for Windows 95/98/Me
C:\Winnt\system32\drivers\etc\hosts for Windows NT/2000/XP Pro
C:\Windows\System32\drivers\etc for Windows XP Home/Vista/7

2. Copy “hosts” file to your desktop

3. Double click on the “hosts” file from your desktop and choose Notepad from “Open with” list

4. You’ll found there some instruction about how to use that text. The idea is that using this text we can remap the IPs of specific hostnames (websites). The IP is the internet address where a website is located. In this way, if we change the address where a specific website is searching for information (for it’s content) we can also block it by specify a wrong or non-existing address.

When we want to block an website address is recomanded to use 127.0.0.1 as it’s new IP address. The 127.0.0.1 is the IP of your computer (DNS will return to your real IP if you go to that address), also called localhost. Because most of the time you don’t host a web-server, that IP address will not be capable to return any information so we’ll see something like, the website is down and not-responding.

In my example I will block facebook.com. For that I changed my “hosts” document in this way:

5. Select File menu and Save. Then put back “hosts” file from Desktop in the Windows folder (location from point 1) by overwrite the old “hosts” file.

6. Restart your computer.

After you restart your computer you will not be able to access the websites you specify in the “hosts” file. You can put as much websites you want, each on his own line starting with localhost IP and then the website address you want to block.

Hope this was helpful for you. Have a nice day!