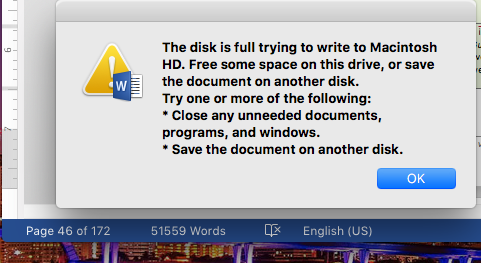
The disk is full trying to write to Macintosh HD.

The disk is full trying to write to Macintosh HD. Free some space on this drive, or save the document on another disk.

Try one or more of the following:
*Close any unneeded documents, programs, and windows.
*Save the current document on another disk.

If you run into this error you might need to check this error first:
Word is unable to save the AutoRecover file in the location you have specified.

Word is unable to save the AutoRecover file in the location you have specified.

Word is unable to save the AutoRecover file in the location you have specified.  Make sure that you have specified a valid location for AutoRecover files in Preferences, and that you have permission to write files to the location you specified.

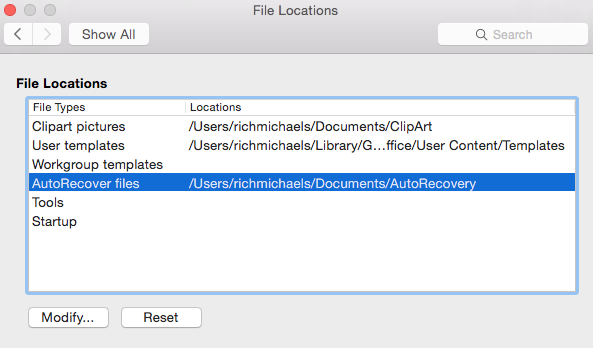
If you get into this error massage check if there is any location set for the autorecovery files (I had it empty), and change it or set one:

  1. Go to: Word > Preferences (or press ⌘,) > Personal Settings > File Locations.
  2. Either double click on “Autorecover files” or single click and then click on “Modify”.
  3. Pick a folder and then hit “Open” I have it in Documents > Microsoft > Office 2011 Autorecovery.

Avoid folders where Word app can get into trouble with file permission (changing or saving). Also, if you use Desktop or other folder that is synchronized with iCloud, be aware that large documents need more time to upload. A small internet connection might block word access for quite a long time and this message can become quite frustrated.

Windows 10 Pro Default Fonts Download

Some time ago I’ve offerent an easy way to repair your damaged Fonts or to simply clean your “Fonts” folder for Windows 7 and Windows 8. Now is time to offer the same for Windows 10.

Therefore, if you have Windows 10 and if you change some system fonts you might get into trouble. Some programs will show you strange characters instead of letter or strange fonts (in the wrong place). For this kind of trouble, a simple solution that I recommend is to simply restore the default Fonts folder. And this is how you can do this: Read More

Fixed: HP laptop/computer restart when Wake up (after Sleep of Hibernation)

If you have a HP laptop and if you upgrade your Windows to version 8 or 8.1 then you might got into some problems with Sleep function.

For example, if you set your computer to go into sleep mode after some time of inactivity, then you try to “Wake Up” your computer … it’s not gonna happen. Instead, when is trying to wake up, some sort of errors will occurs and your computer is gonna be automatically reset. Of course, all your opened programs will be close, as well as all your current work.

And this problem was around since Windows 8. On the internet you can find a lot of different and crazy solutions but in my case none of them worked…

But today, I’ve managed it… and it was very simple. All you need is to update your BIOS version to the latest one: “F.50 REV: A PASS: 1Read More

0x0000001A Blue Screen: Memory Management Error

A friend of mine asked me today to support him with an error. First, he notice frequent errors using the web browser (Chrome in his case):

chrome-memory

Second, in some cases, when this error is generated, the Windows is also rebooting/restarting.

Having this facts to work with I started with:

1. Reinstall Chrome, clear windows registry, system file checker – same behaviour. Read More

Windows 8 Default Font Download – Repair Kit

A long time ago I’ve offered you a simple solution on how to restore your default fonts in Windows 7. The basic idea is that you can get in real problems if your default system fonts get messed up. For example, when you install too many fonts or even worst, when you allow other software to replace your fonts. In this cases, your explorer, your browser, your games and basically everything on your computer can show strange characters and bad font style.

To repair this error I recommend to restore all your fonts:

1. Go to C:\Windows\Fonts (where C:\ is my Windows drive) and delete as much fonts as you can. (ctrl+a to select all and delete key to delete … skipped where the system couldn’t remove the files)

2. Download the default Font folder  (.zip file, 250MB) :

Download “Windows 8 Default Font Folder” uc – Downloaded 32030 times –

3. Extract the content of that folder.

4. Select all the files in the extracted folder (ctrl+a)

5. Right click and select Install

Enjoy! If you search the default fonts for Windows 7, click here.

L.E.: If you search the default fonts for Windows 10, click here.

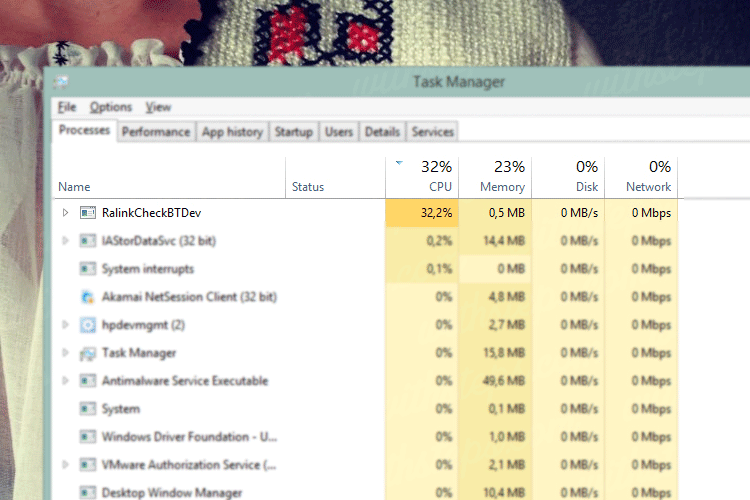
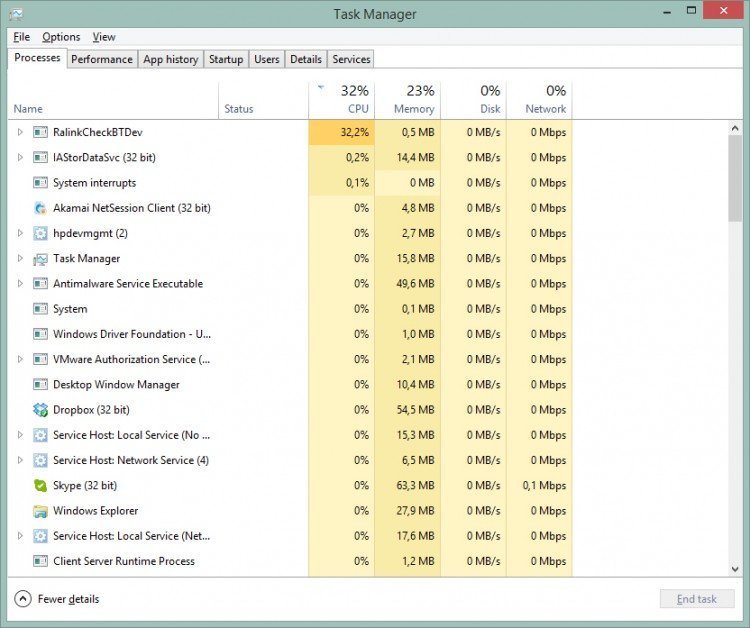
RalinkCheckBTDev is using a lot of processor resources

RalinkCheckBTDev

A  couple of days ago I’ve updated my Bluetooth driver in order to repair a problem of my “always white wifi button“. Also, I’ve made an update to all my Wi-Fi Adapter drivers. Since then when I’m starting my computer, a lot of processor resources are used by a process called “RalinkCheckBTDev”.

I’m running Windows 8.1 Pro 64bits on a Read More

Wireless LED problem in HP laptop: always white (even with Airplane mode on)

I had a problem this days with my HP ProBook 4540s laptop. On the top of my keyboard I have are 2 extra button, one for internet and one for wireless communications (WiFi network, Bluetooth). Pressing the wireless button, my computer will switch on/off the Airplane mode. When The Airplane mode is active (with no wireless communication enabled) the LED is orange. When the Airplane mode is off (WiFi communication is enabled) then the LED indicator is white. Everything was fine until I Read More

How to use SONY VAIO Recovery tools

Having a PC problem is not very nice. While user experience is very important for PC/Laptops/Netbooks customers, Sony came with a couple of tools that come in handy when a system/os problem occurs. This tools are usually used to diagnose system errors, backup and recover data, to recover Sony preinstalled software and drivers or to recover the entire VAIO to its original settings. Usual, this tools are found under a software called “VAIO Recovery Center” for older VAIO models and “VAIO Care” for newer.

But … what can be done when your VAIO can not load Windows?

Then the first option is is using recovery disks (DVDs). Your computer does not include those disks in the package but you can create them very easy (and this is recommended for all of you, VAIO users) -here is a tutorial on how to create VAIO recovery disks. If is to late and you can’t create them then you can phone SONY and get a copy of your disks but you have to pay for that. Be aware that this disks can not be used for multiple computer even if those are the same model.

A second option to recover your VAIO is using the build in recovery tools. To access the recovery tools from a SONY VAIO, the default key is F10. Immediately after you turn on your VAIO press F10 key. You may need to press it a couple of time while you see the first VAIO logo after you start your computer. This will ask you to boot from a different sector than normal one used to boot into your Windows or will enter directly to your recovery tools.
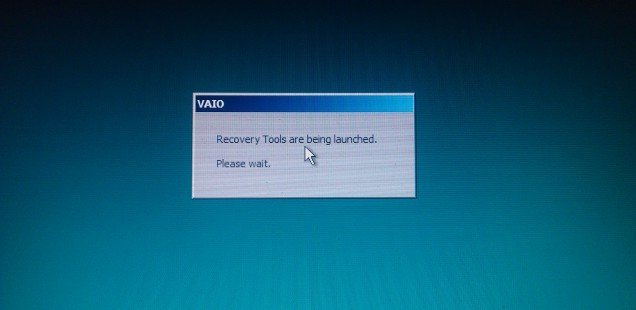
After a small waiting period, the VAIO Recovery Center will be launched.

Here you can:

1. Windows System Restore

System restore will restore your program files to a predefined restore point. Restore points are points in time, which may be changed by the user in System Properties. Under normal conditions, this program should not affect your personal files.

2. VAIO Hardware Diagnostics

The VAIO Hardware Diagnostics is a utility program that helps you to determine if your VAIO’s problem is related to your hardware or not. Computer problems can be caused by a number of factors including the hardware itself. Software installed on your VAIO or its settings could be the cause as well.

3. Restore C: drive

Restore the C: drive to its original factory condition. This includes all factory installed software. The time to complete the restore can take un to an hour depending on the amount of software being restored and the speed of your computer. This program deletes all files on the C: drive.

4. Rescue Data
Rescue Data detects the data which can be saved on the internal disk drive when Windows does not start, and saves this data to an external hard disk drive or removable media.

In case you need to use any of this options, take your time and read all the instructions you find. Be aware of the options that can harm your personal data. Consider the possibility of a backup before any recovery operation.